How to Make a Pillbox Hat
Note: This page is not displaying well in IE and Edge. Photos show in Chrome
Pillbox hats were popular in the 1950s and 1960s like those worn by First Lady Jackie Kennedy. They were taller in the 1960s. Pillbox hats were meant to be worn on top of the head. Some were plain. Some were adorned with net and ribbon trim. This tutorial shows how to make a reproduction pillbox hat using fabric and interfacing.
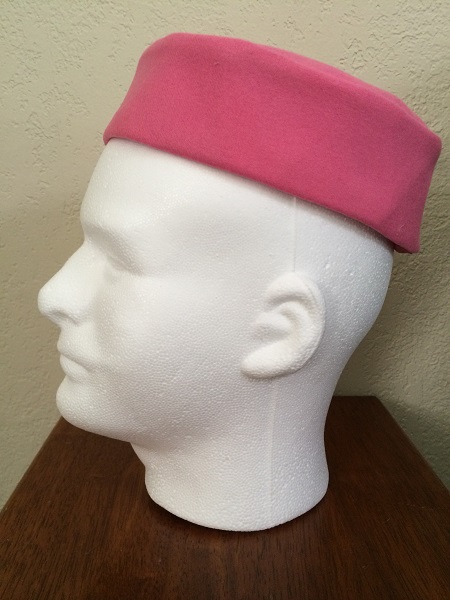
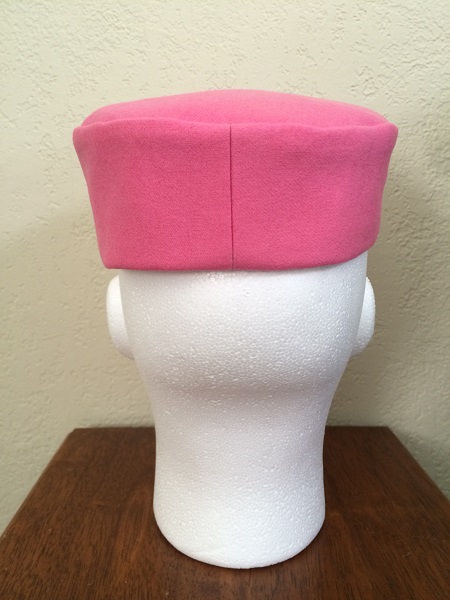
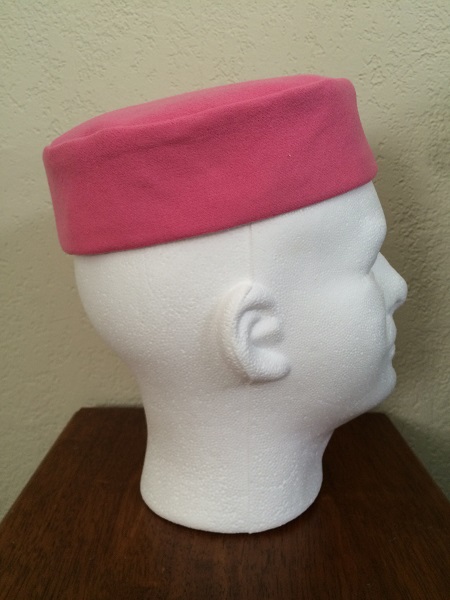
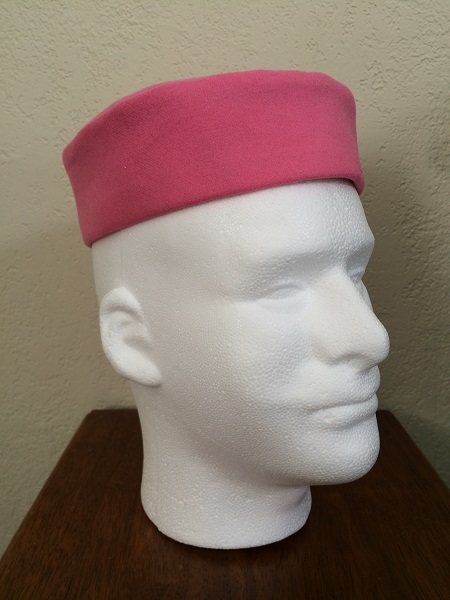
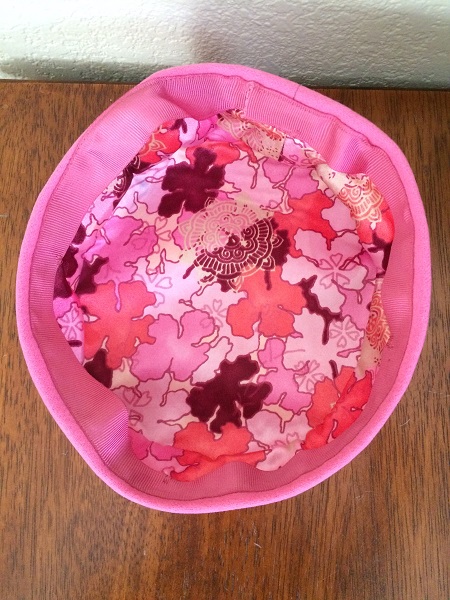
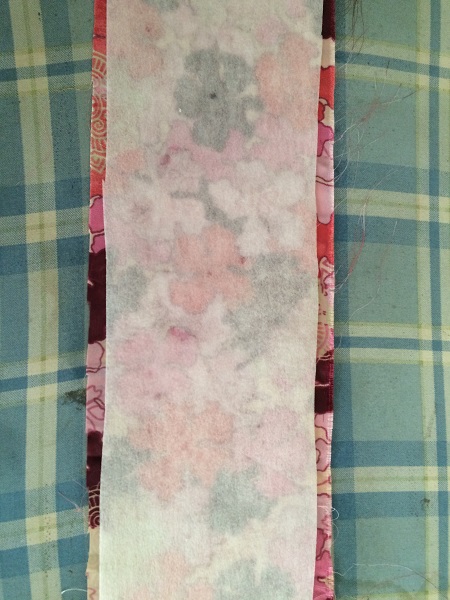
I made several pink pillbox hats using pink wool with a polyester satin lining and grossgrain ribbon.
Elle Woods (Reese Witherspoon) wore a pink pillbox in "Legally Blonde" 2001 and
Dolores Umbridge (Imelda Stauntan) wore one in "Harry Potter and the Order of the Phoenix" 2007.
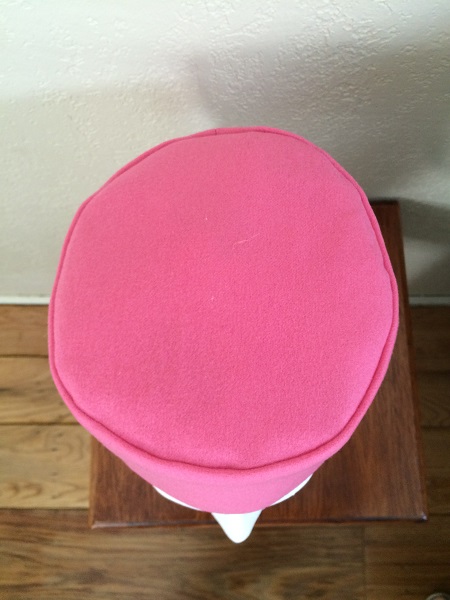
Here is what the finished
hat looks like on this lovely styrofoam head.

Materials
- Wool or fashion fabric - scraps or 1/4 yd
- Lining fabric - scraps or 1/4 yd
- Medium to heavy fusible interfacing - 1/2 yd
- Thread
- Grossgrain ribbon - 24" of 7/8" to 1" wide
Pattern
Crown is 22" long and 2 1/2" tall with 5/8" seams added (length ends up being 23 1/4"). Finished
crown will be 1/4" shorter after turning hem edge under.
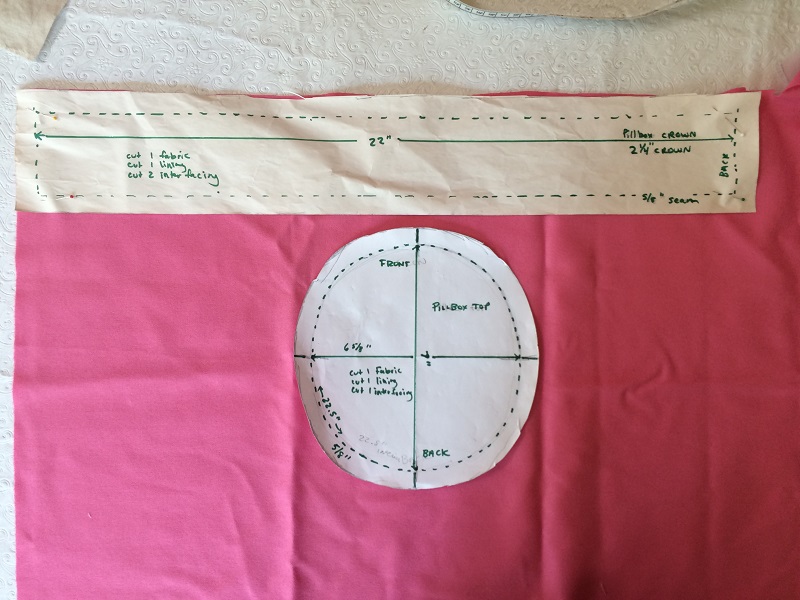
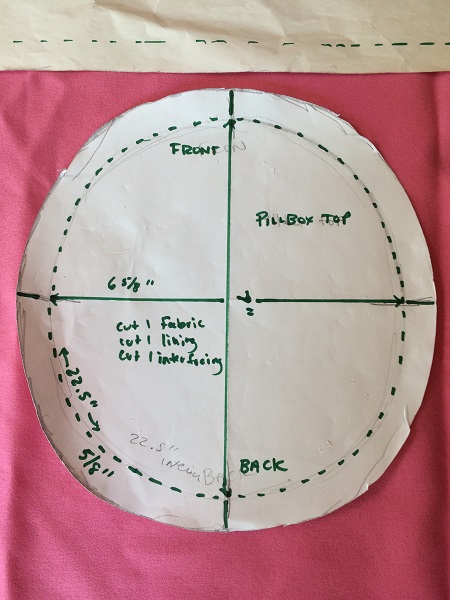
Top is 7" tall and 6 5/8" wide oval with 5/8" seam added (example: pattern ends up being 8 1/4" tall).
Steps
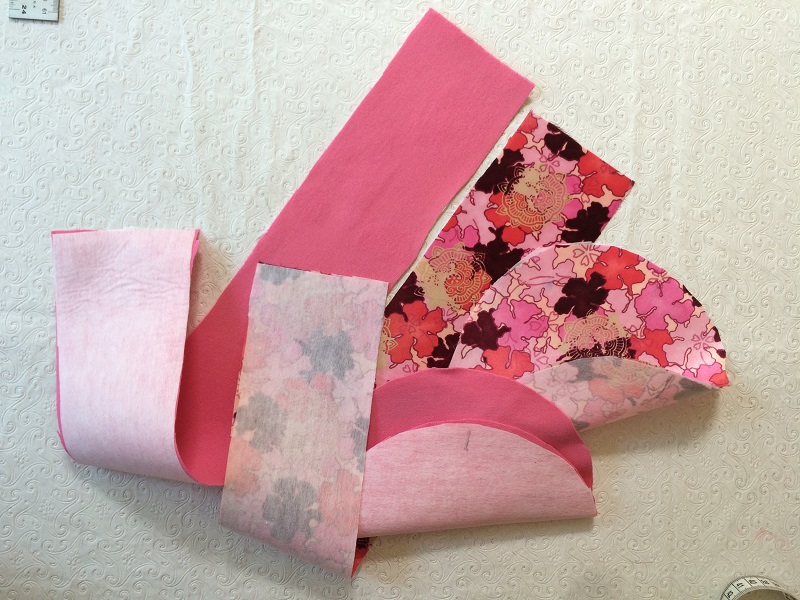
Cut out fabric, lining, and interfacing
Cut out one each of in fabric and lining.
Cut out two each in interfacing.
Mark front, back and sides of top interfacing. These marks will be used to attach the crown.
If lining is slippery cut lining slightly larger than interfacing and trim off excess after ironing.
If lining is slippery and difficult to cut, cut out slightly larger than pattern. After fusing on interfacing, trim excess fabric off.
Iron on fusible interfacing
Stay stitch 5/8" on crown fabric and lining, top and bottom edges
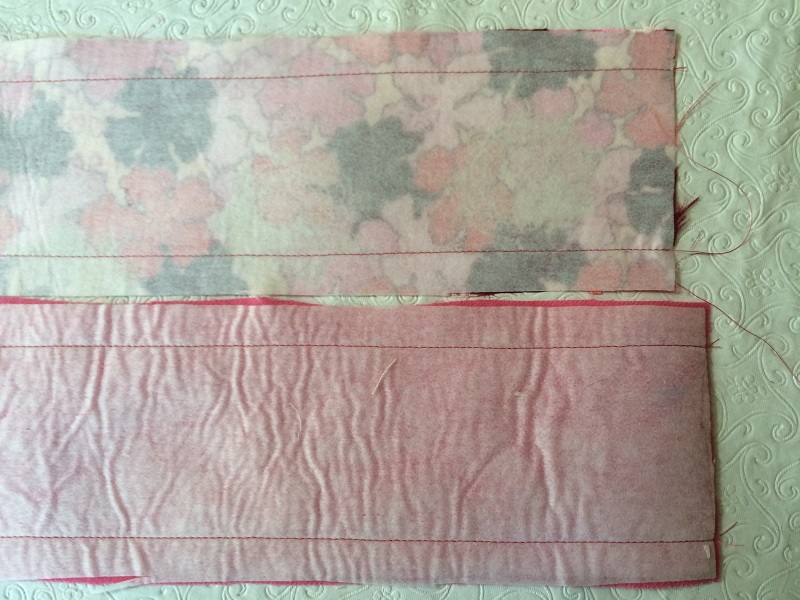
Sew 5/8" back seam on fabric and lining crown
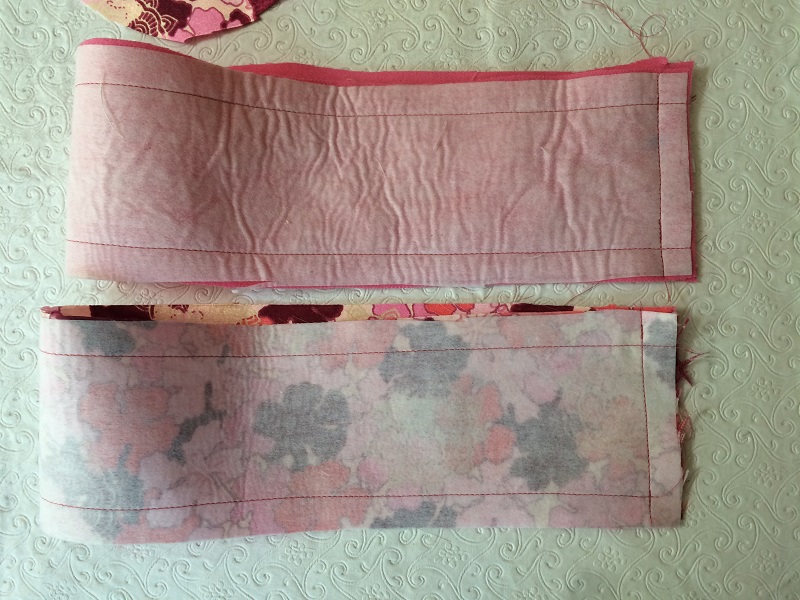
Trim lining seam
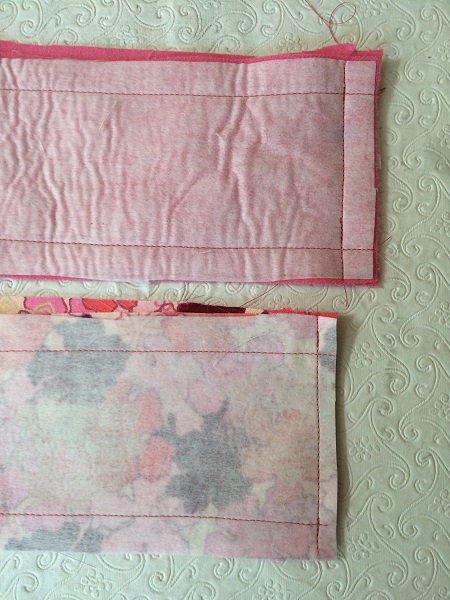
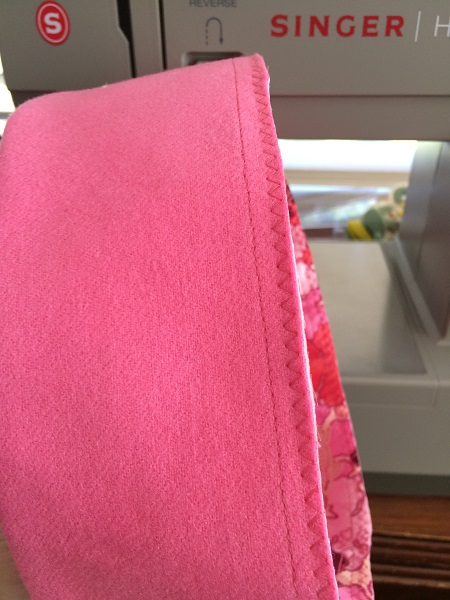
Finish seam edges and iron seams
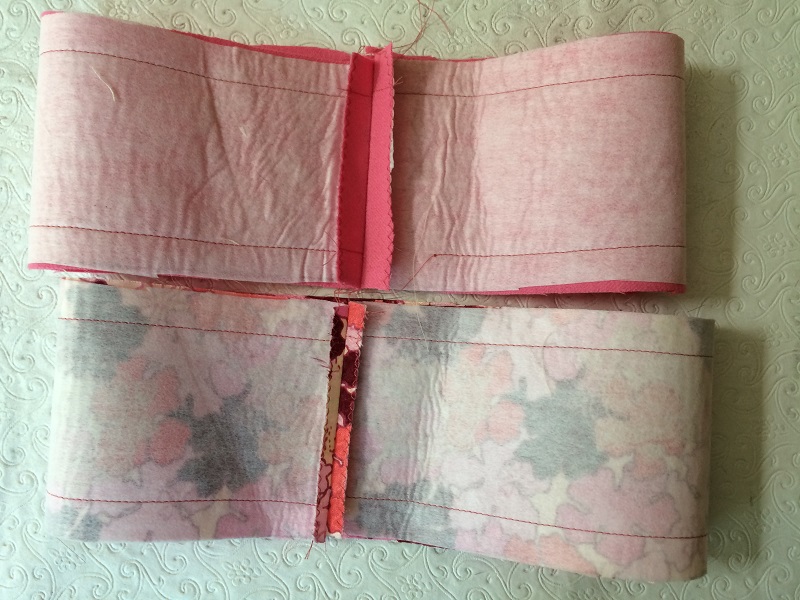
Mark top front and sides on fabric and linig
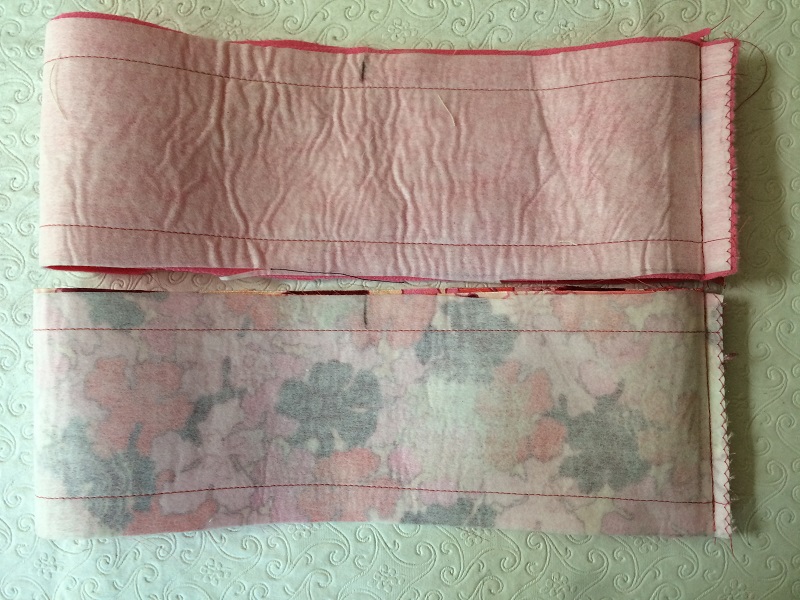
Clip top seams to staystitching
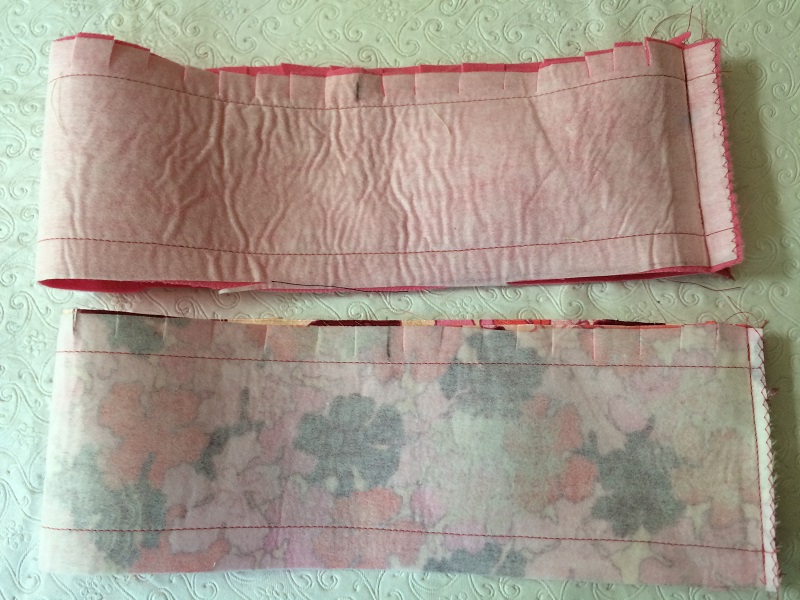
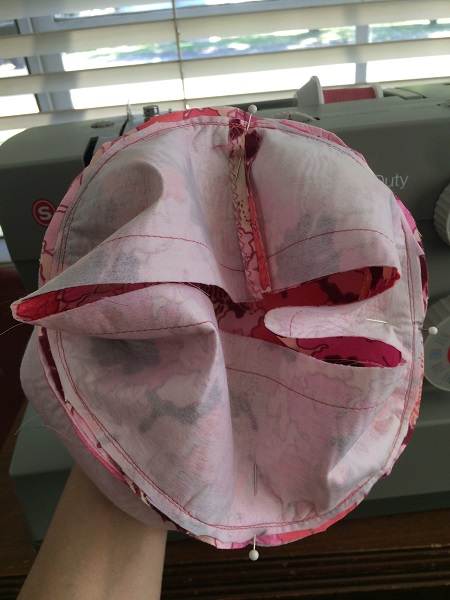
Pin the four marked corners to the top four markings matching the back seam with the back top
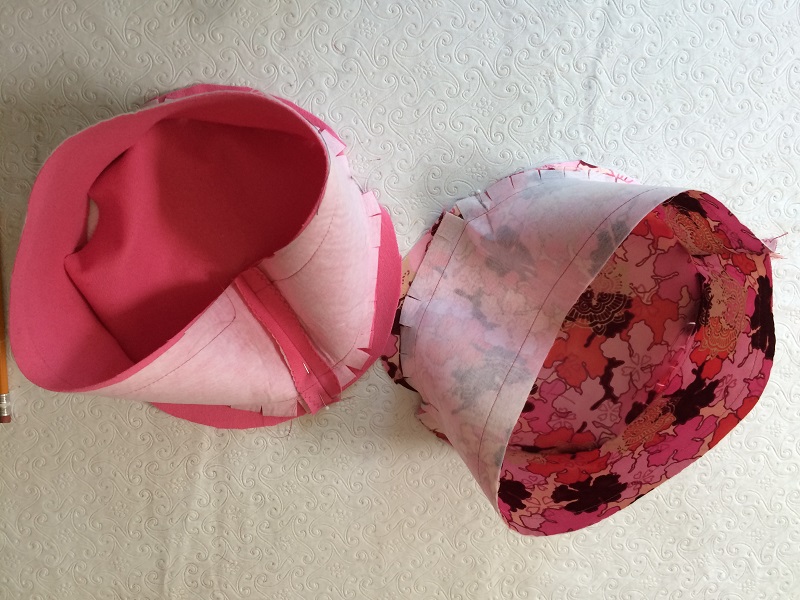
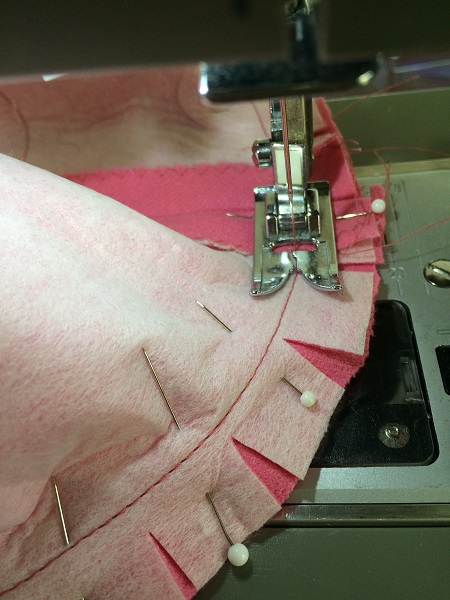
Pin crowns to tops
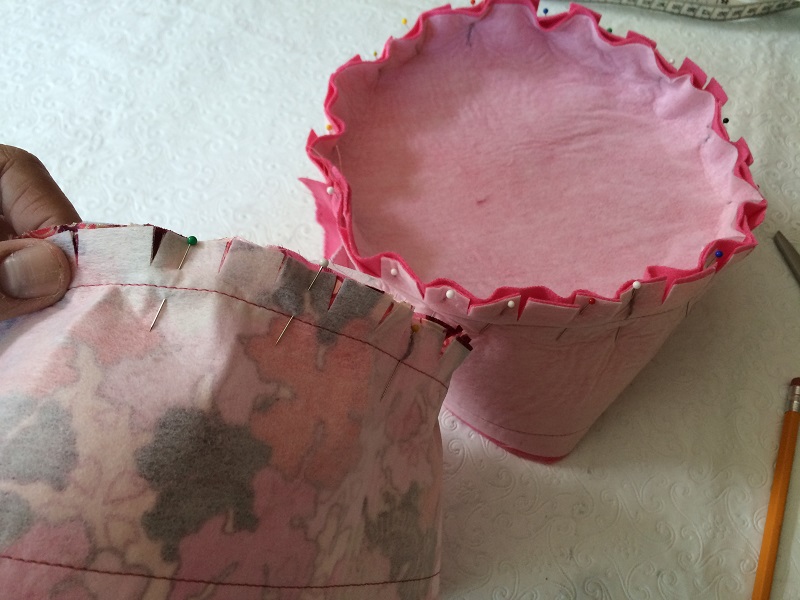
Sew crowns to tops just to the left of the staystitch
Staying to the left means sewing so that the staystitching lines do not show on the outside.
Grade seam allowances with crown trimmed smaller than the top
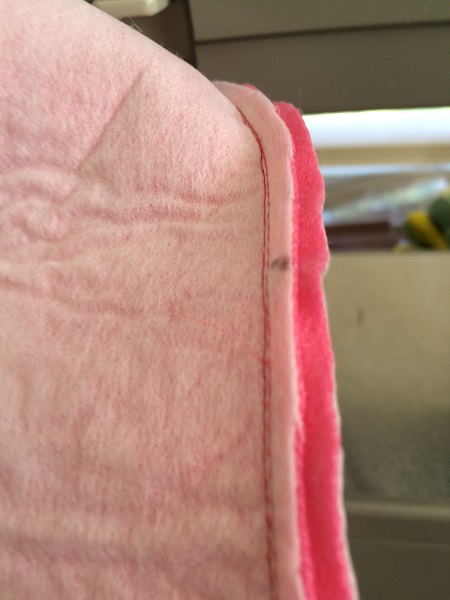
Pin fabric top to lining top, interfaced sides together, match back seams
Zigzag tops together
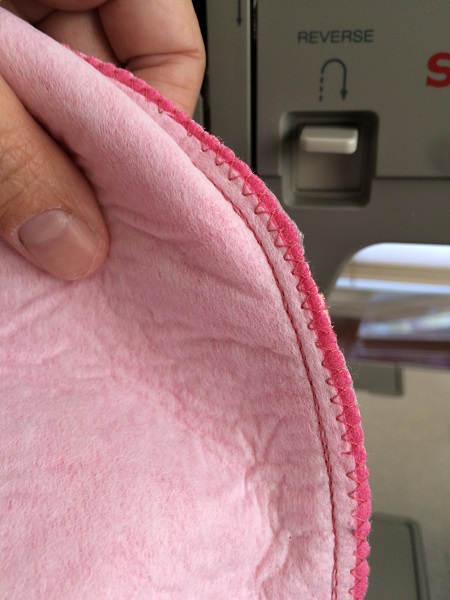
Turn right side over lining and pin edges together
Zigzag together about 3/8" from stitching
Trim seam
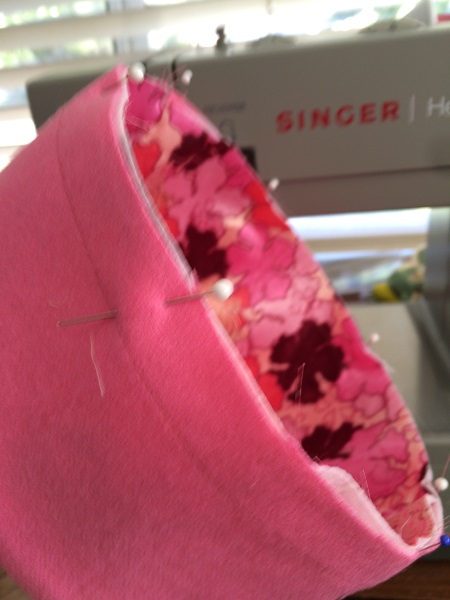
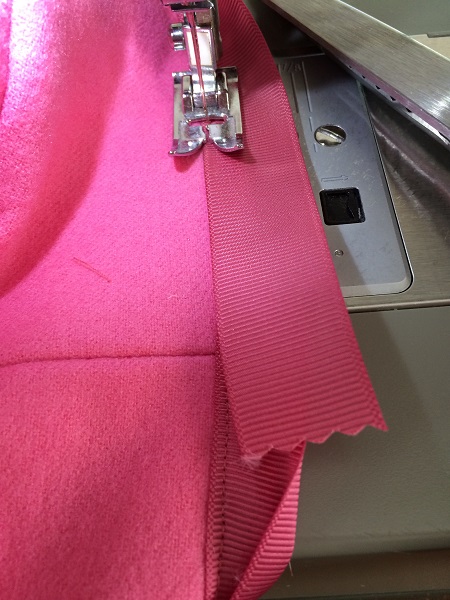
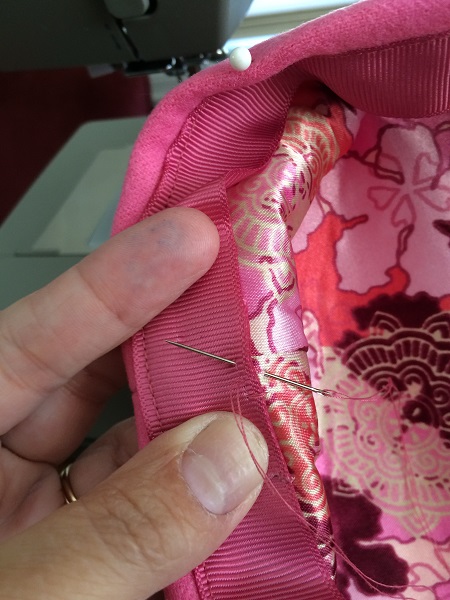
Sew grossgrain ribbon with edge slightly over stitching, starting a little before back seam

Overlap grossgrain, pink edges of ribbon
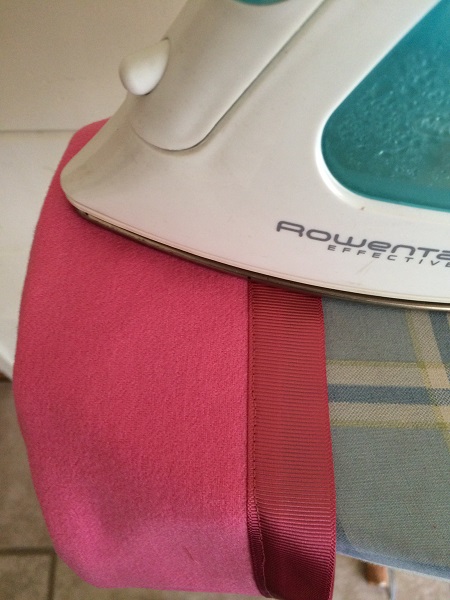
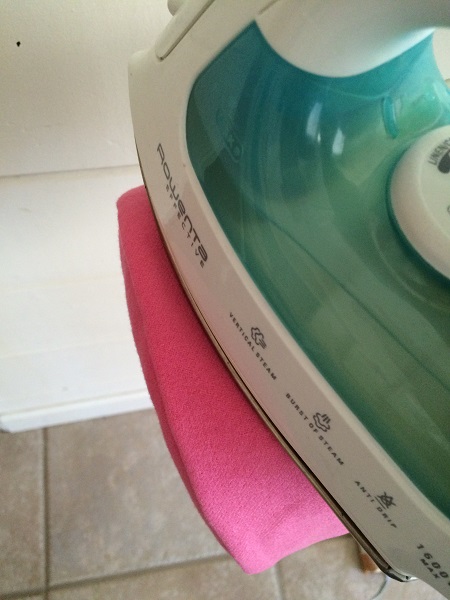
Iron crown
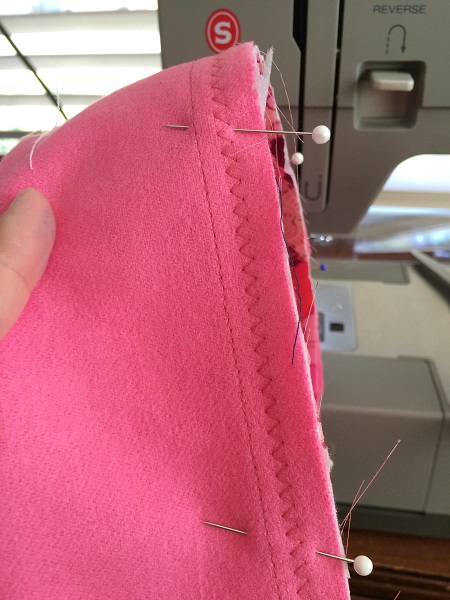
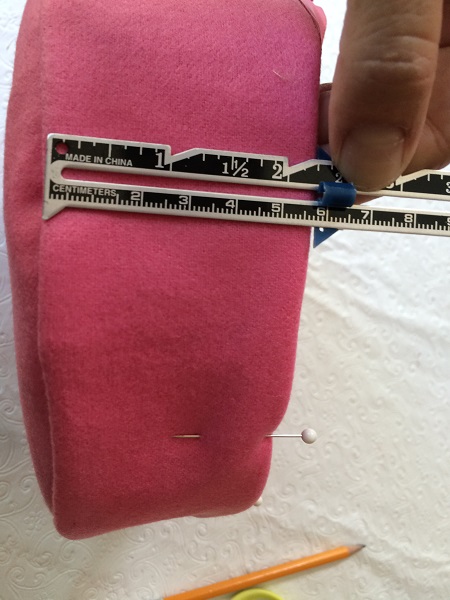
Measure crown and find shortest measurement or 2 1/4"
Those that are perfect sewers may not need this. I, however, ended up
with varying measurements of crown, so here is where we can make the crown the same height
all the way around, again.
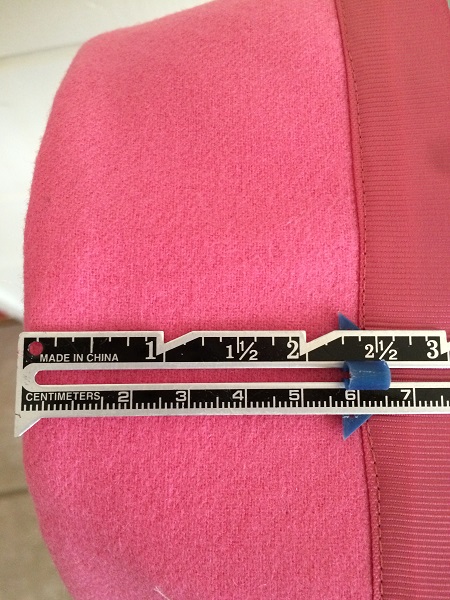
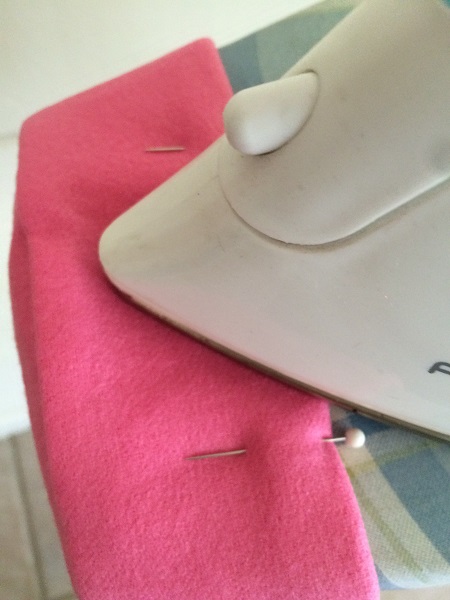
Pin crown at smallest measurement or 2 1/4"
Iron crown between pins
Tack ribbon to lining on back, front, and sides
Remove pins and iron crown
Trim hat as desired
Finished!
Or make more.
Completed: September 2016