Reproduction 1916 Suits
Reproduction 1910s Suits
Sporty and travelling suits made for sports or leisure wear. Ads during the time period
show these type of suits being modeled with tennis racquets and golf clubs.
Worn during the Covid pandemic to a park for a game of croquet, posing with badminton, and a short stroll in April 2021.
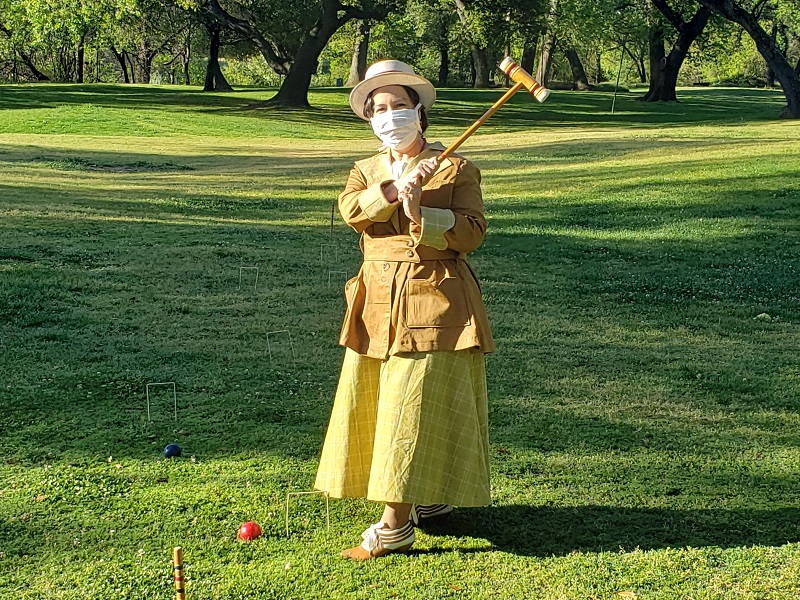
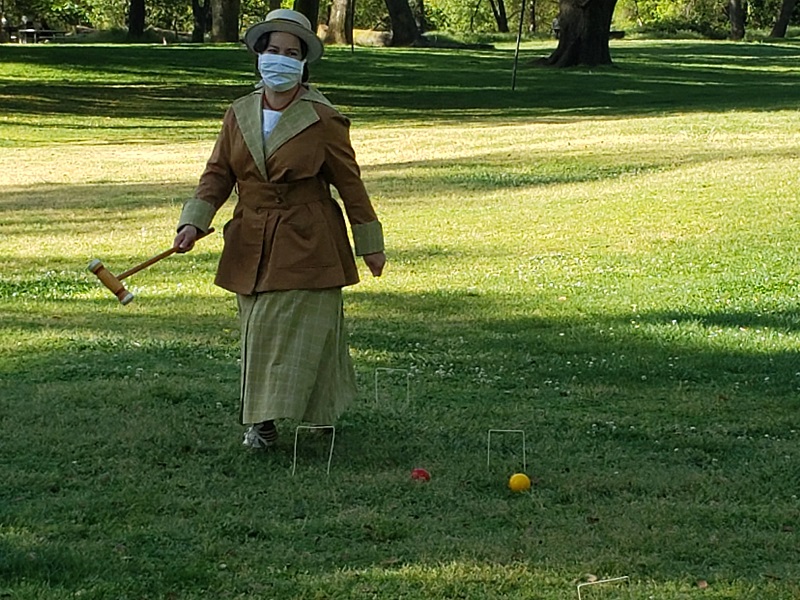
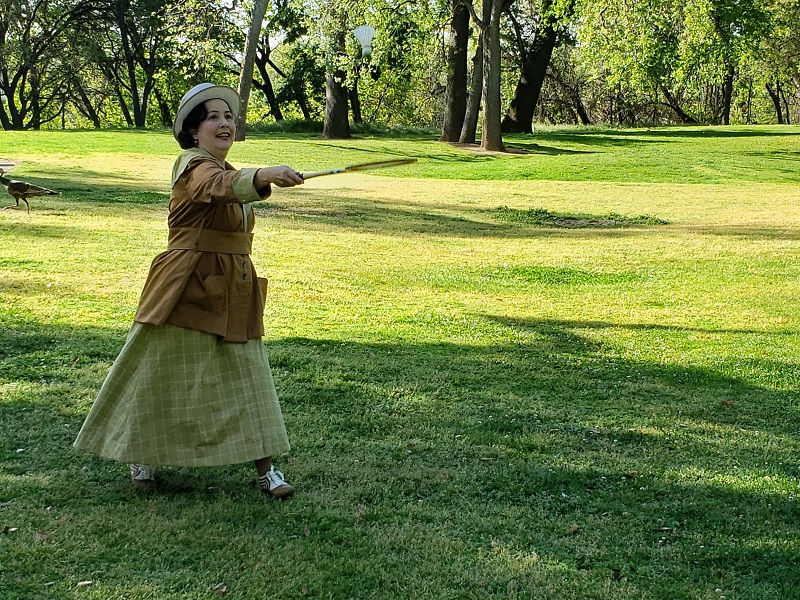
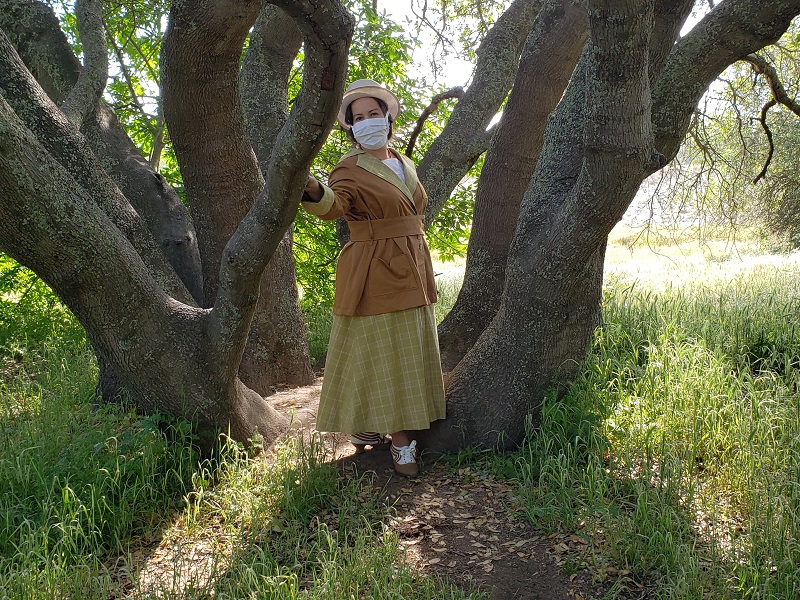
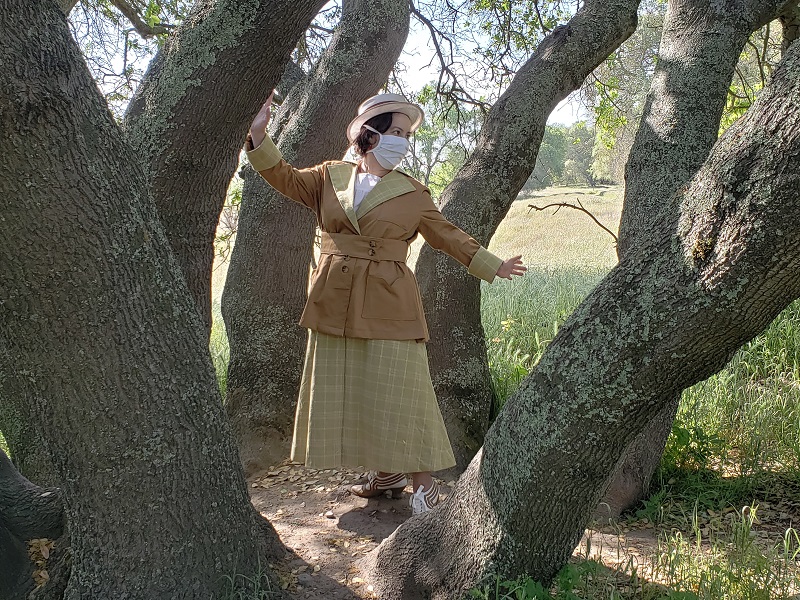
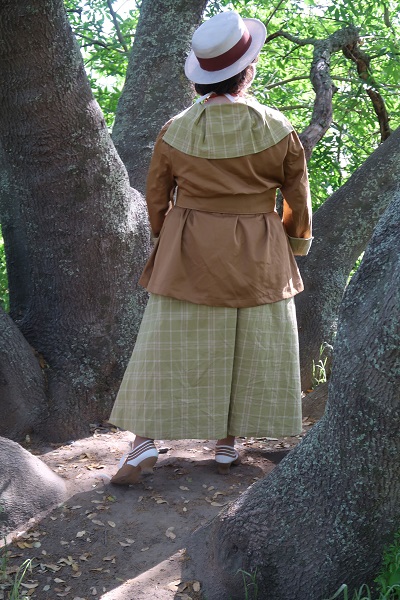
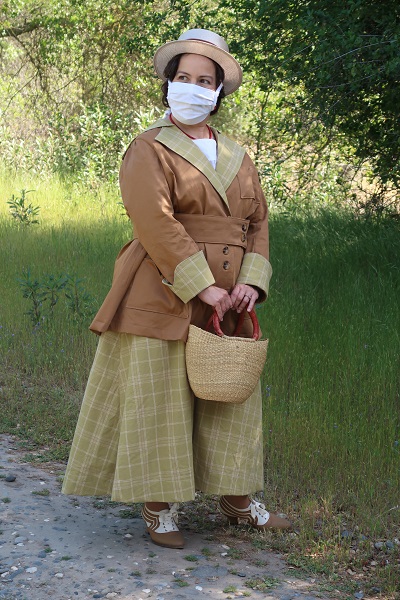
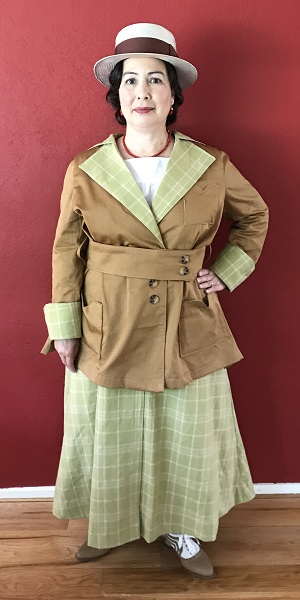
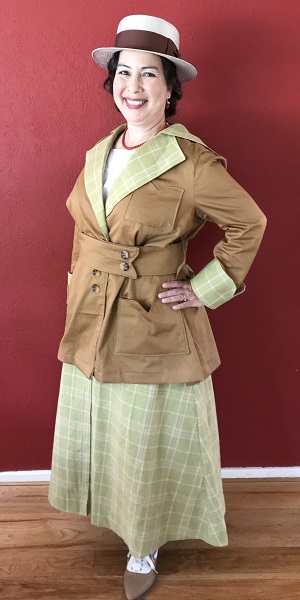
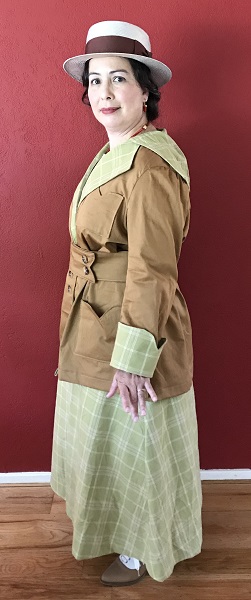
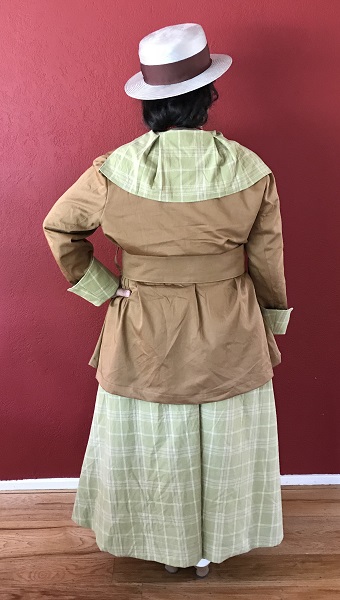
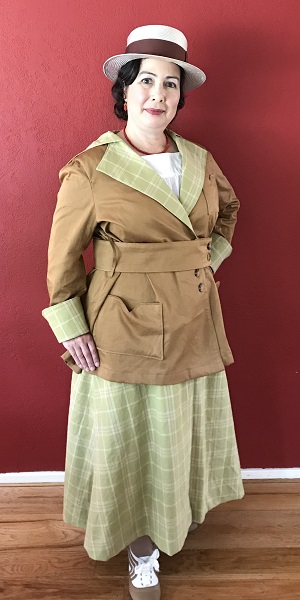
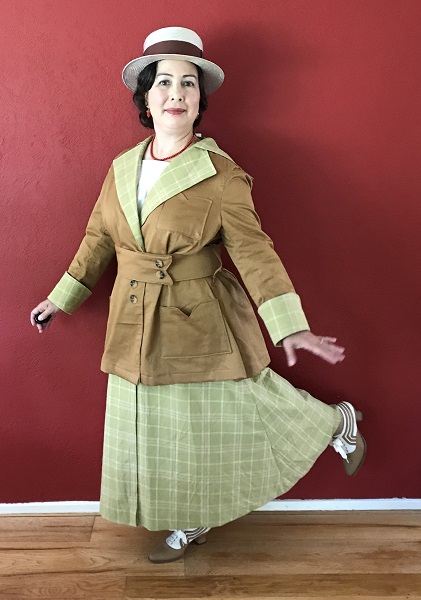
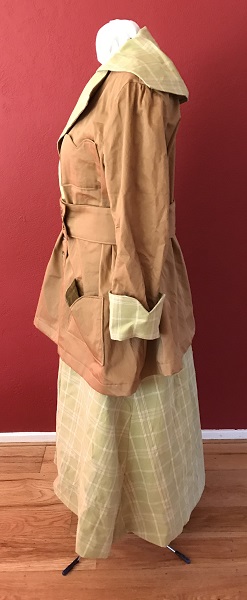
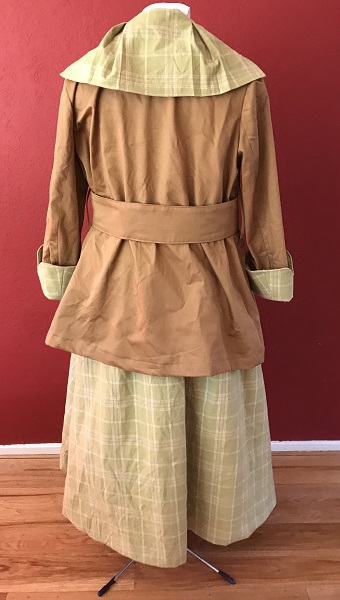
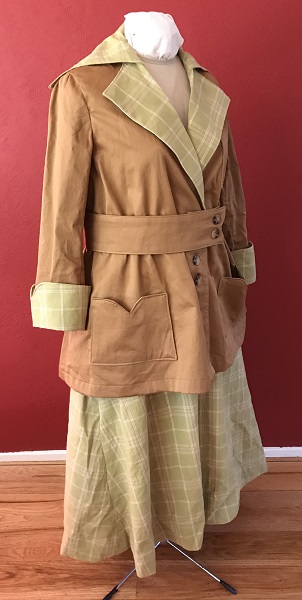
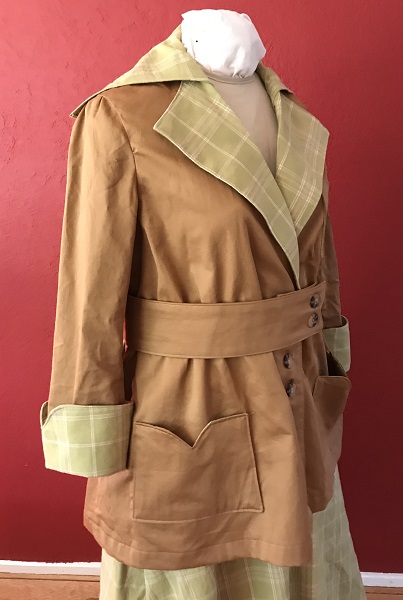
Reproduction 1916 Green Plaid Suit
Green plaid suit (jackt and skirt) using the Wearing History R109 1910s Suit pattern from an original 1916 pattern.
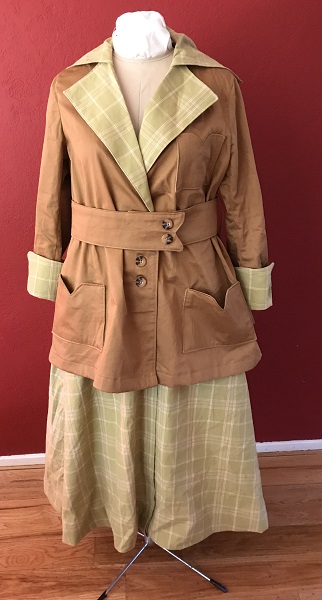
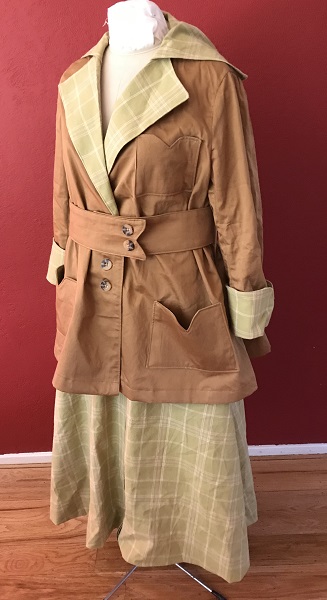
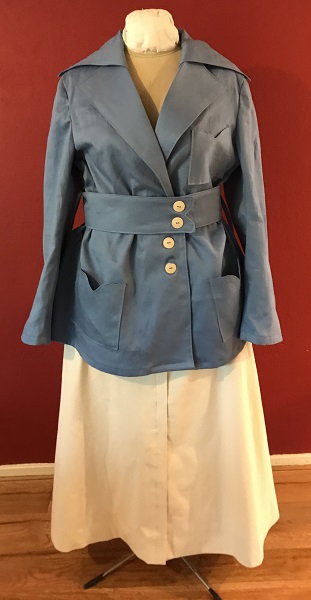
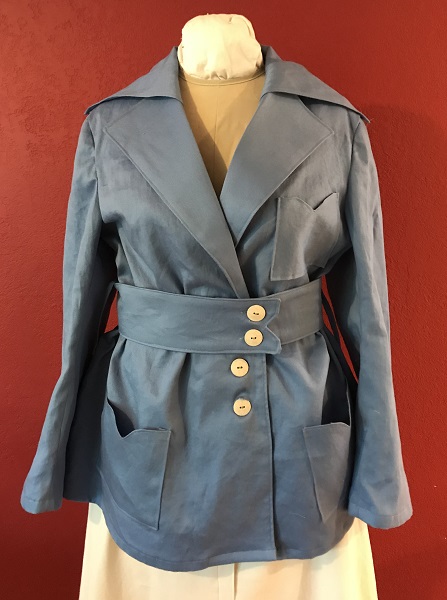
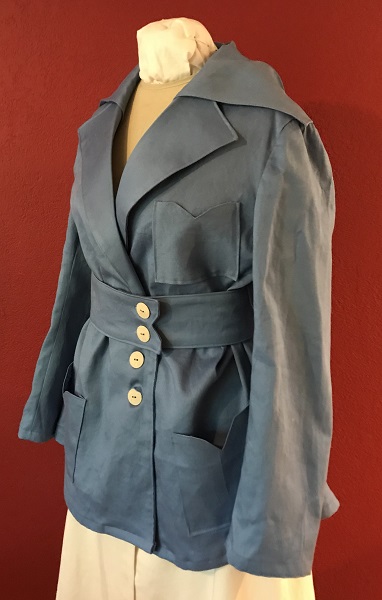
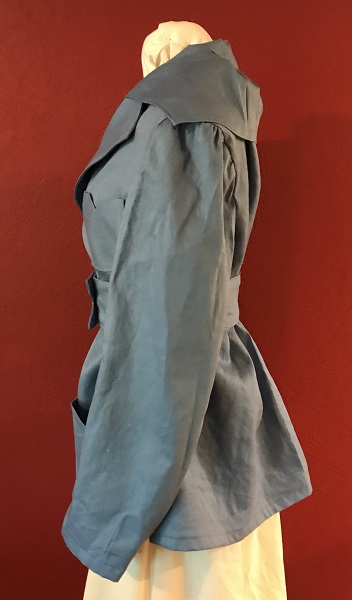
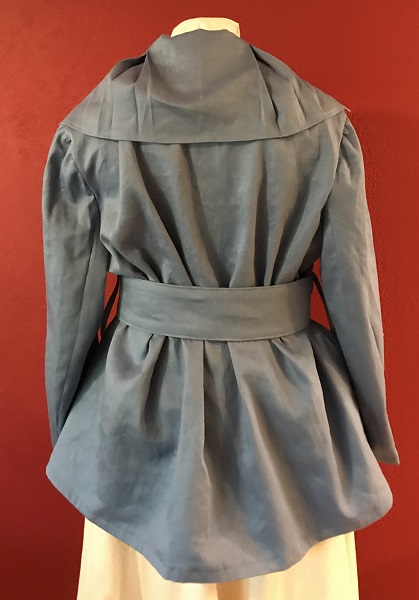
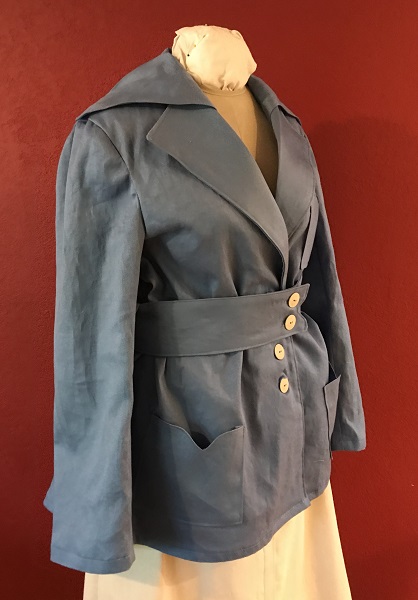
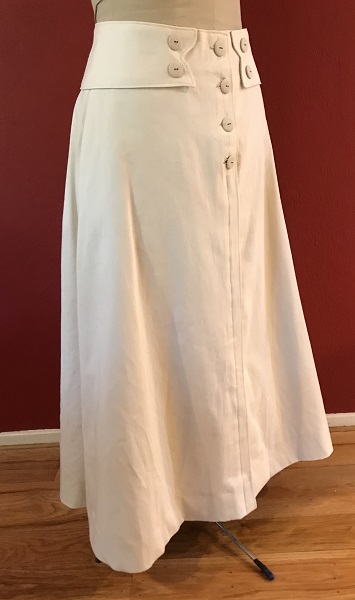
Reproduction 1916 Blue and Cream Suit
Blue and cream cotton twill suit made for a friend.
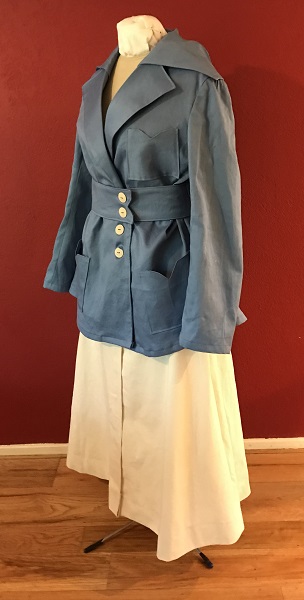
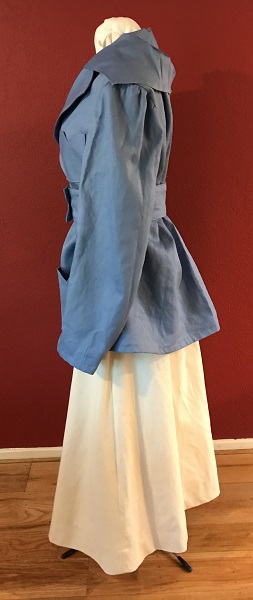
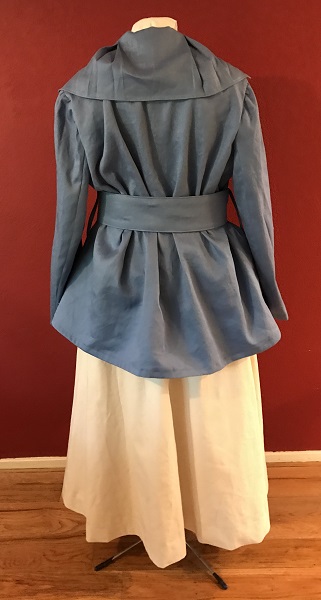
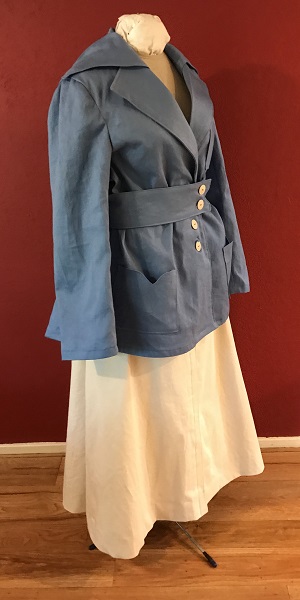
Jacket
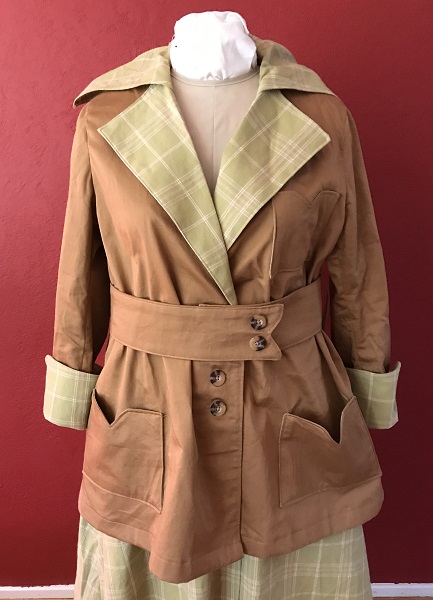
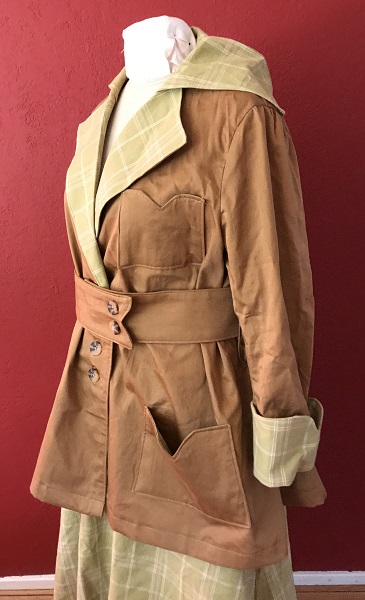
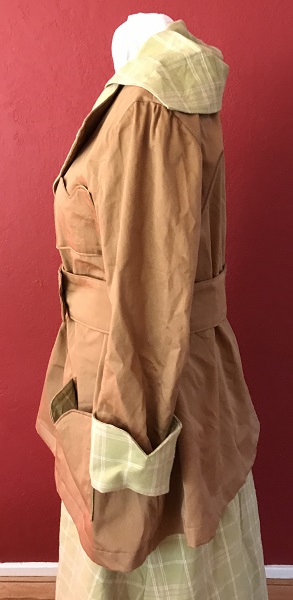
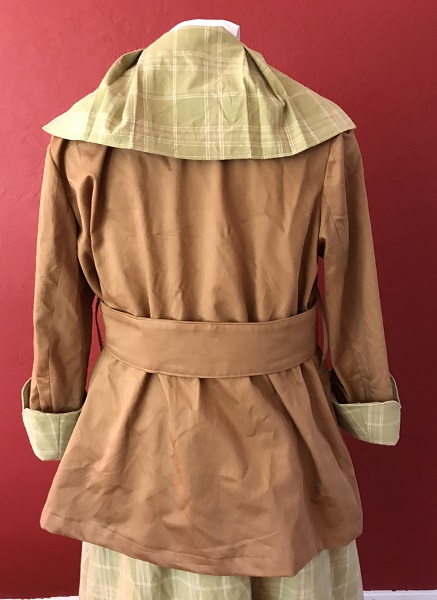
Gingerbread polished cotton (blend?) jacket with green plaid cotton (blend?) details is
loosely fit with a matching belt, has breast pocket, and two front pockets.
Pattern: Wearing History #R109 1910s Suit Jacket Size 40. Modifications include:
- Shortening sleeves 3" (1.5" below elbow and 1.5" above elbow")
- Used shorter cut line
- Added interfacing to both sides of belt since fabric was thin.
Contruction Notes
Possibly missing shoulder mark on bodice front because matching sleeve dot to shoulder seam did not work. Finish edges as you go.
- Interface all the things that need interfacing.
- Sew side seams (3/4")
- Sew shoulder seams (1/2")
- Sew top sleeve to bottom sleeve (outer seam 3/4", inner seam 1/2")
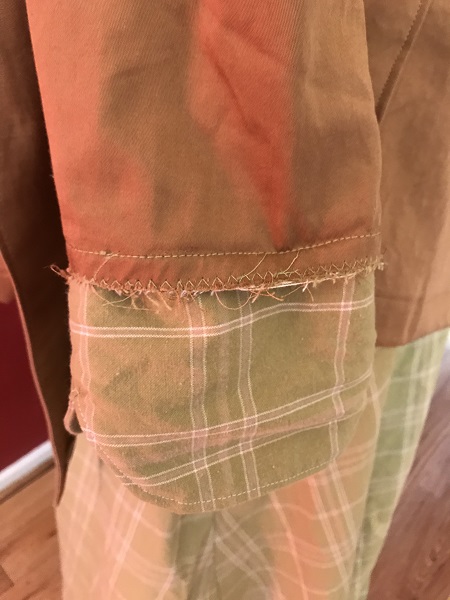
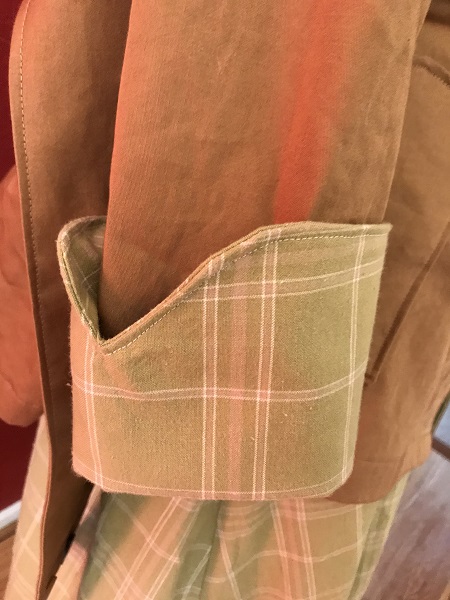
- Sew cuffs (and linings) together by side seam which is a whopping 1"
- Sew cuff to lining at the top. Clip seams, turn right side out
- Topstich top cuff edge
- Sew cuff to sleeve so that the seam ends up behind the cuff and hidden. Tricky.
- Add gather lines at 1/2" and 1/4" to top of sleeve heads.
- Set sleeves in. Fold top of sleeve in half with top notch on one side, find other equidistant side and mark as bottom side.
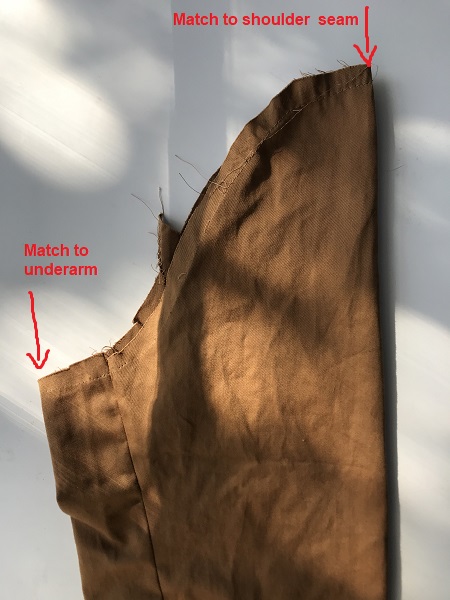
Fold armscye in half from shoulder and find the other equidistant half.
Match top notch to the top shoulder seam and the marked lower sleeve and armsyce.
Pin from the inside starting at the underarma and work up. Ease sleeve cap to fit. Double marks of sleeve and body may not match up.
Use machine arm and sew sleeve from the bodice side. Take a look and fix and bunchy bits.
Try on and redo till fits right. Then sew again 1/8" from first seam, zigzag and trim or finish edges. - Sew front facing turning under to match shoulder seam. Clip corners, turn right side out.
- Hem pleated collar, stitch pleats to darts, iron pleats
- Staystitch 1/2" from top edge, finish edge.
- Clip collar to seam on back and around curves. Set collar to bodice neck.
Wear it meets the front placket clip. Leave that part to finish later.
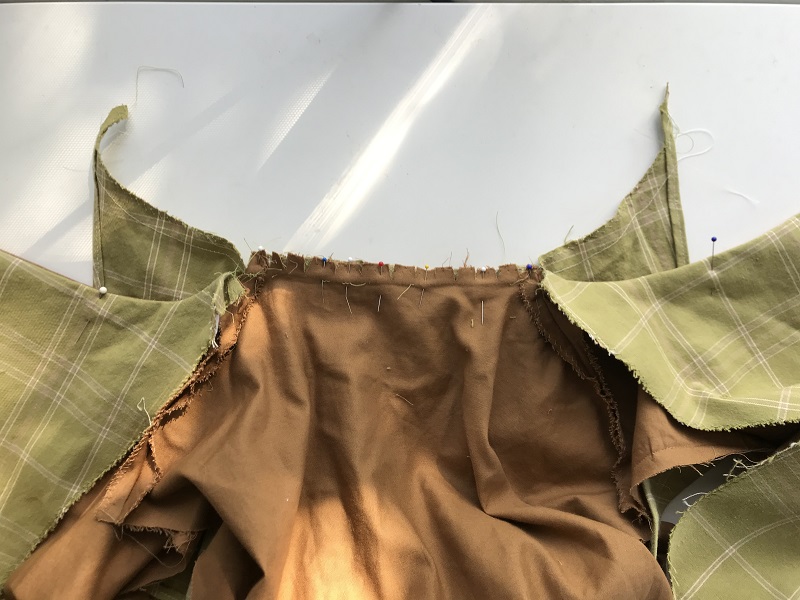
- Finish back facing. Sew sandwiching the collar in between. Understitch back collar.
- Place and sew down the collar edges under the roll line of the front facings.
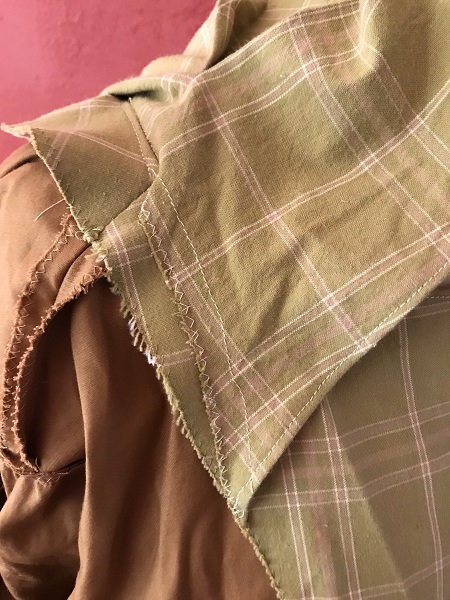
- Sew belt leaving small opening to turn inside out in back. Topstitch.
- Check belt for fit and add buttonholes and buttons or hooks and eyes.
- Try on for belt placement of loops. Add belt loops at sides for belt.
- Iron seam allowance or bag line the pockets. Topstitch upper edge.
- Pin pockets to bodice to make sure looks right with belt placement.
- Sew/topstich pockets to bodice.
- Hem by hand or machine stitch.
- Topstitch facing.
- Add buttonholes and buttons if desired
Completed: April 2021
Tags: #wearinghistory #1910sSuit
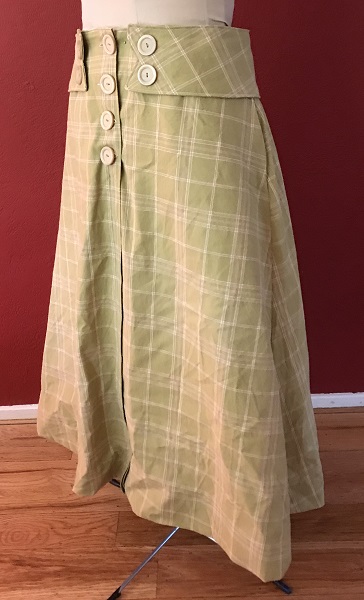
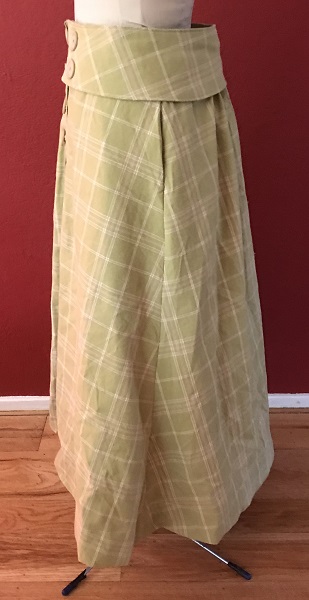
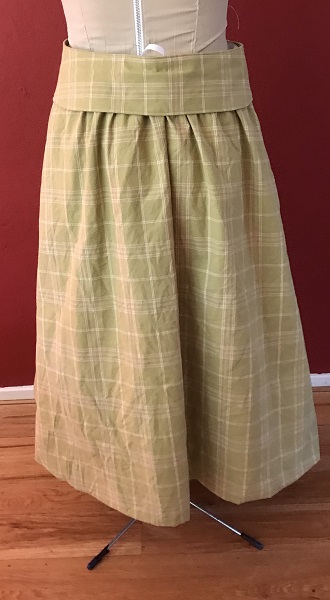
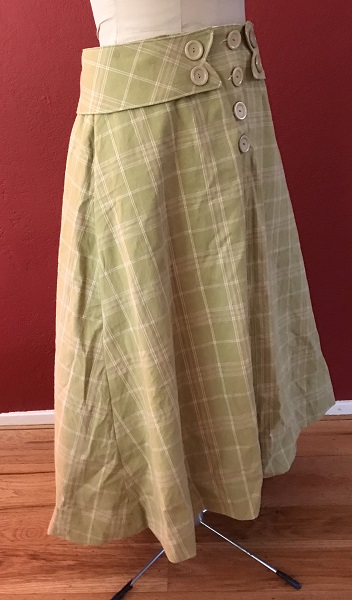
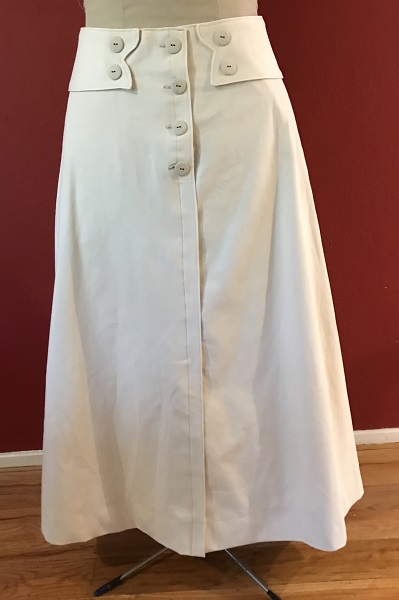
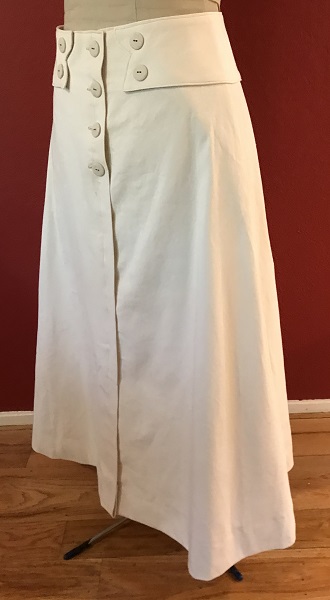
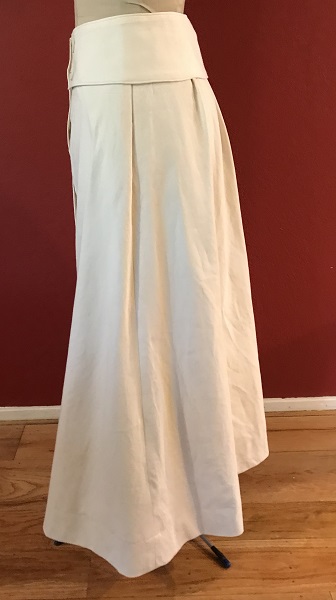
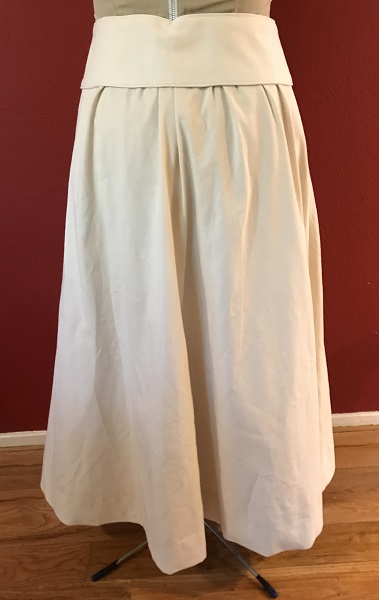
Skirt
Green plaid cotton (blend?) skirt has hidden side pockets, slightly gathered back,
an interior waistband, and an exterior belt.
Pattern: Wearing History #R109 1910s Suit Size 34 Modifications include:
- Adding hidden side pockets
- Used shorter cut line
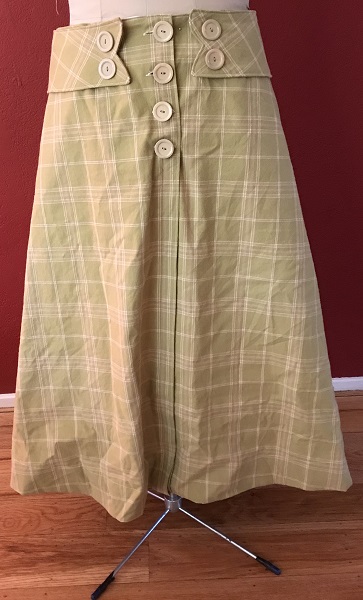
Construction Notes
Hint: Keep pattern pieces out because seams are of varying widths.
- Prepare inner waistband before cutting skirt to check for correct size. Sew darts, fold front edges under, fit to self with undergarments. If doesn't fit, try again with a closer size.
- When cutting skirt side seams make them 5/8" to allow for side pockets
- Sew in hidden side pockets on each side
- Sew side seams
- Finish side seam and front edges
- Iron front plackets on line. Topstich both edges
- Match center fronts. Mark 7-9" from top. On inside sew plackets together from mark to hem or leave partially open for front slit. ??
- Stay stitch 1/2" from top, fold under, iron.
- Gather back between marks 1/8" and 3/8".
- Match top of inner waistband to skirt top, gathering in the back to fit.
- Topstitch waistband to skirt.
- Add buttonholes to top placket and buttons to bottom placket, leaving the topmost inner waistband for a large snap/popper or hook and eye.
- Mark and hem either by machine stitching or create a facing at the bottom of skirt.
Completed: April 2021
Tags: #wearinghistory #1910sSuit
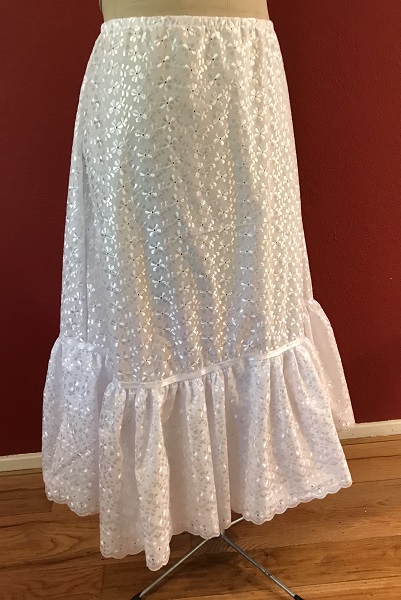
Petticoat
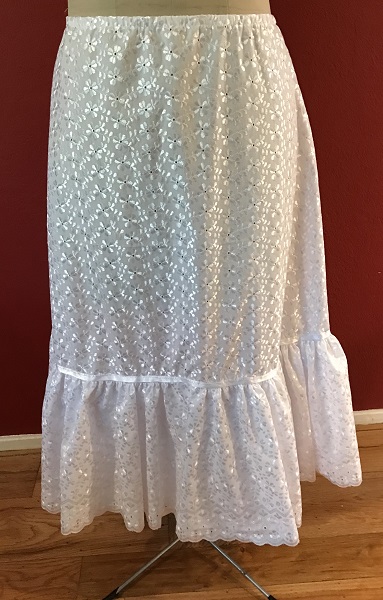
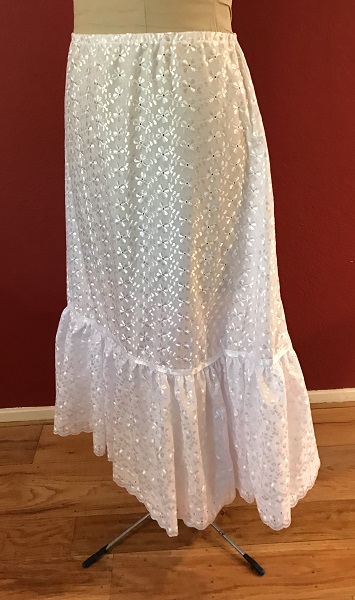
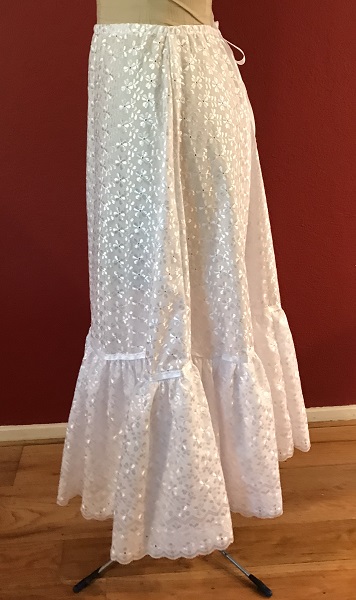
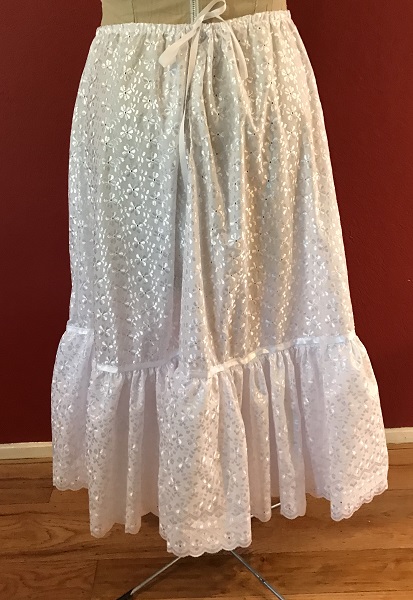
Synthetic embroidered eyelet cotton blend fabric with flounce has satin ribbon on top of gathers. Used shorter version of the skirt pattern with drawstring waist that opens/closes at back.
